Had a blast at Emerald City Comic-con 2015!

So, been recovering from con-crud as we all lovingly call it. Eating gluten by mistake made me miserable and open to catching a cold, and then working Norwescon 38 the following weekend didn’t help. Hey, when they pack 80,000 people into a convention center, you are bound to catch something! I had a good time though. Didn’t get to see as much as I wanted because we didn’t go Friday like usual, and I volunteered Sunday with the 501st for over 4 hours (leaving directly after so that Manbeast could watch WrestleMania… sigh) but it was worth it. I got to meet Tom Hodges, but most importantly, Anthony Daniels (He is so incredibly funny and awesome!) Manbeast volunteered with me too, and I must say, our RSO outfits looked awesome! Here we are with my friend Nikki!

RSO Emerald City Comiccon 2015
Saturday we spent with some amazing friends of ours. Dena was a steampunk vampire hunter, and I was her vampire. I loved the subtle light/dark looks we had, even though I was the evil one, I tried to wear my lightest colored steampunk costume pieces, while hers was a lot of darker pieces, even the rosary and sword were dark. It was glorious! I loved it.

Steampunk Vampire Comiccon 2015luring me in with her sweet blood, little did I know that the hunter had a silver chain in her hands!

Steampunk Vampire 2 Comiccon 2015The holy silver chain! HOW IT BURNSSSS!

Steampunk Vampire 3 Comiccon 2015
She pierces my heart with her wooden sword! Curses!

Steampunk Vampire 1 Comicon 2015 Yes, cleavage happens. Its called a corset.

I hope everyone else loved Comic-con as much as I did! I will post photos of the final Steampunk costume and a more in-depth look at the bustle skirt that I made for my friend Taylor’s wedding in my next post! (I’m eagerly awaiting the photos from the wedding! I loved my hair and my tiny black top hat from Brigid’s Whispers, you have no idea…)

If I didn’t make my costume, most of the pieces I wore came from the costume shop I own/work at, or from other local businesses and vendors at Ren Faire’s and Conventions.


Hoof Covers for Santa’s Reindeer!

So we covered how to make Santa’s footwear more stylish, what about his trusty companions? Rudolph needed some new hooves this year, so I made a set using a pair of boot covers from the Santa Suit to create a pattern.
WP_20141119_007So you remember that bottom portion? I cut the rest of the leg portion off, cut up the back, snipped the elastic, and laid it flat. Since I want them to be able to open in the back, I extended it a bit so that they would overlap on the back side of the foot. I also made it long enough to fold the back side over once so that I could put sew-on Velcro there and make it look more finished.

WP_20141128_004

Gather all your materials. You need some nice heavy-duty fabric (a yard should be plenty, but you can take your pattern piece to the fabric store with you to make sure you get enough), I picked a dark colored vinyl with a soft suede underside, darker than the fur of the reindeer suit. You need black Velcro to secure the back, double-sided bias tape to finish off the edges, and thin elastic to keep the “hoof” secure to the foot. Here are pictures of the fabric and bias tape. One packet was enough with this little bit left over:

WP_20141128_005 WP_20141128_022

Cut out your vinyl piece, and fold in half, right side together. Sew a straight line in the middle of the front of the piece. Deer have split hooves, so this makes the two “toes” of the hoof:

WP_20141128_006WP_20141128_001

Next you need to sew on the Velcro to the back. fold the back like so:

WP_20141128_009

Sew the edge close to the fold first. I used heavy duty needles again, because the vinyl and Velcro are pretty thick. After the edge near the fold, I sewed the other side. Remember you need one piece of Velcro on the outside, and the opposite piece on the inside. I made the two hooves opposite each other as well. Trim the extra fabric from the edge of the Velcro.

 WP_20141128_011WP_20141128_014WP_20141128_012

Now that you have your Velcro attached, and the backs can be fastened closed, you need to attach the bias tape. Fold the end over so you don’t have any issues with fraying, and pin it down and around. Use the elastic on the old boot cover to see where you need to attach the elastic. As you are sewing the bias tape you need to make sure you catch both the top and bottom of the tape to make a clean, finished look. When you reach the elastic don’t be afraid to double or even triple stitch over it to secure it.

WP_20141128_017WP_20141128_018WP_20141128_019

WP_20141128_026

Do the same for the top of the shoe-cover as the bottoms. Fold under the ends and make sure you catch both sides!

There you have it, two shoe covers for your reindeer costume! Full mascot costumes will have furry legs that come down and cover up the tops, leaving you with split-hooves.

                         WP_20141128_025 WP_20141128_024

(My nails are Espionage cosmetic’s wraps again! this time in “literary”)

Boot Toppers For Santa

So you are interested in being a Santa! You’ve grown the beard, bought the plush suit. Sweet! What did it come with? Jacket, Pants, Belt, hat, and… Boot-covers? Oh Santa… this won’t do! Do you have a pair of black boots, but they don’t have fur? Never fear! I am going to show you how to make these:
Created with Nokia Smart CamWP_20141119_001

into this ensemble:

WP_20141119_003

in just a few easy steps!

First, you want to trim off the bottom portion of the boot-cover. I cut it so that there was about 6 inches of black pleather material left. You want to leave this so that the boot topper has sufficient material INSIDE your boot to stay in place once you slide your leg inside it. Fold the faux fur up and out of the way and measure from where the faux fur ends and the vinyl begins.

WP_20141119_005Measure six inches and use a rotary cutter and ruler to make an even cut across. Press down hard enough to cut through both layers of the boot-cover.  WP_20141119_006WP_20141119_007

You can discard the bottom portion or use the vinyl for another project if you wish, I used the portion that covers the foot to make a pattern for a foot-covering I made later. (Spoilers, that will be my next holiday project that I post!)

Next you want to lay the boot you will be inserting these toppers into on top of what is left, and give yourself about an inch out for a seam allowance. The boot cover is much wider than your boot, so you will be trimming off the back portion, and then re-sewing it.

WP_20141119_009

Lay your ruler down and use your rotary cutter again. Faux fur is pretty thick so be sure to press down firmly.

WP_20141119_013

Once that is trimmed away, turn your piece so that right sides of the vinyl are together. If you want to sew the boot-toppers with a machine, use a heavy-duty needle. These are the ones I used. I hand-stitched the faux fur though, it always jams my machine. If your sewing machine is heavy-duty enough you can use it for both parts. Just remember that you have to turn the boot cover and sew the faux fur up so that the seam will be hidden when its turned down over the top.

WP_20141119_014

WP_20141119_018

As you can see, it makes a nice clean seam, just be careful, vinyl likes to tear, so sew up the back once and be sure to get as close to the fur as possible.

WP_20141119_019

So with needle and thread I backstitched up the rest of the back. I turned the boot topper so the right side of the black vinyl is out and the furry part of the faux fur is together and then did a running stitch. When you are done, stick the boot-top into your boot.

WP_20141119_020

Fold down the fur and there you are! The Santa I made these for needed something to go into his rubber boots for outdoor trips, in case of mud. I hope my project helps you too!

WP_20141119_022

 *** My fingernails are from espionagecosmetics.com, if you were wondering 😉

Amazing support for a small business, MadeYewLook is a makeup rock star!

I’m like a true pixie. I feel like I can only have one emotion at a time, and right now I’m brimming with happiness and excitement!

The talented artist, MadeYewLook, or  https://www.facebook.com/MadeULookbyLex has done not one, but TWO makeup videos while wearing costumes we sent to her and given my store Lakewood Costumes a shout-out! AHHHH! I was so amazed that she even asked for our help. She is a popular artist on YouTube, approaching 1 million subscribers, and for someone like her to want to support US is a huge compliment. She also uses a lot of products we sell, so it was a fabulous chance that I couldn’t pass up.

I’ve followed Lex for over a year now. Her videos first came to my attention through Mehron. The store had just had a representative from the company come and go over their makeup in August 2013, showing proper application, various uses, and explaining things/products that I hadn’t even been aware of before. I’m not a trained makeup artist or esthetician, so I learned more in one day from Gene than I had ever learned before. (THANK YOU MEHRON! YOU HAVE FOUND A CUSTOMER FOR LIFE!). We have been a retailer for them for a long time, but it was the first time we actually understood a lot of their products, and so we were better able to help customers find what they need.

This experience also helped me to understand makeup tutorials that I had been watching for a long time, and why products I had tried using in the past hadn’t worked. Now that I had an understanding on the differences between oil and water based makeups and the proper way to apply them, now that I knew about pigment levels and other information, I could see the problems that many artists on YouTube were not addressing, and that the popular looks were often being done with makeup that wasn’t going to last or look good for more than a few minutes. Some products artists love to use were never meant to be used that way, and could damage skin! I was amazed and determined to do better.

Lex had her Little Red/Wolf makeup from Halloween 2013 on Mehron’s home page, and I was hooked. Not only was this woman talented, she was using quality products. She was showing different techniques, she was making videos on skin-care, and she was doing it with a positive outlook. I don’t think I’ve ever heard a truly negative word out of her. I watched the other artist’s videos for the Ryan Seacrest Halloween Guru contest , and I had no problem using my vote for her. She deserved every vote she received. Not only that, but if I ever find it difficult to explain to a customer why a certain makeup will work for their costume better than something else, she has given me a visual way to show uncertain folks how a product can be applied, that they can watch again and again at home!

I highly recommend her videos for people who love makeup and body-painting. She is a gem and promotes good stuff. Check out the videos she made for the Monster High costumes we sent! You might end up watching videos for hours, beware!


One last clown post…

Wanted to share this vest and pants set that we got done just in time for the convention next week! I hope whoever purchases it loves it as much as I loved making it! Fully lined vest with inside pockets, with pants that match! Here too are the two sets of pants in the primary colors I finished, and the finished primary colors vest:

 10348432_10152548465059774_2457133764676174791_n

10526013_10152545516224774_7953070258093027348_n

10458204_10152541131589774_8572023311427163836_n

Created with Nokia Smart Cam

Whoever gets them, they are gonna be BRIGHT!

If you tickle us, do we not laugh?

BRING ON THE CLOWNS!

You heard right. We are making traditional 1950s clowns over here at Lakewood Costumes. (Because we know, according to the Oatmeal, everything after 1950s is scary…http://theoatmeal.com/pl/minor_differences3/clowns)

Created with Nokia Smart Cam

We start with a basic pajama pattern to get the shape of the pants right. These also have the benefit of having large side pockets and a wide leg.

To alter the pattern, we have shortened the legs, added large cuffs, and we also put big pockets on the front and back. Last step is to add a tiny pocket to the inside waistband.

Created with Nokia Smart Cam

Because clowns need POCKETS! ALL THE POCKETS! Maybe not rubber chicken sized, but big enough for your hands to fit inside while the fingers are extended. The front pockets are lower than the back ones, and have more detail + big plastic buttons.

To make these heavy-duty, we’ve used trigger fabric in bright, simple primary colors. We are making this particular pair to match a vest that is already made, which has blue as the base, so the pants match accordingly:

Created with Nokia Smart Cam

We don’t have anymore of the red clown fabric, so we are keeping everything basic. We’ve used bias tape to finish the edges, just like the vest.

Created with Nokia Smart Cam

The vest didn’t have any pockets on the inside or outside, and its already lined. Solution: Cut the pockets the same size, sew the inside one on first, then overlap the seams when you sew on the outside pockets. The inside pockets don’t need to be perfect, and you can match the thread so that its harder to see. No worries.

Should have these done next week when I go back to work! Weeeee!


And finally, our finished Cyd Charisse!

And finally, our finished Cyd Charisse!

While there are a bunch of things on this costume I’d tweak if I could, and I could definitely put MOAR GLITTER/SEQUINS/SPARKLIES on this sucker, I’m happy with the result. Everything fits as it should.

Jasmine in the photos is the dancer it was made for, and I made it in a knit fabric so it could stretch and move with her. I shortened the shoulder straps to 13 inches, and I put re-enforcing fabric under the stretch sequins so that it gave her better support. (Before I did that the top was threatening to spill her out, and that isn’t acceptable!!) There is a built in elastic bra lining which, honestly, probably gives no support whatsoever, but it helps the silhouette of the overall top, and keeps her in when she moves, so that’s all that matters.

WP_20140527_014

I used a bit of the stretch elastic and added a snap to make a quick choker. If I had had time, I would have made her a sleeve for the left arm with all the bands/bracelets Cyd wears. Hell, given another month I probably would have done a ton more to this, but I think my boss would have finally thrown up the red flag, as I had taken quite a bit of time on it already. (We won’t tell her I worked on it at home. Lets be honest, this dress took a lot of planning to work out the kinks, and it deserved the time, whether I got paid for it or not!)

WP_20140527_015

I can’t wait to go to the play and watch her perform! I’m super excited, I hope everything works out well!

Cyd Charisse Dress Day… I think I lost count…

Cyd Charisse Dress Day... I think I lost count...

Yeah, wow, more than 40 hours later, we have something that is actually a DRESS! I can’t wait for the dancer to come and try this on. I’m hoping that everything fits alright. I’m not happy with the elastic sequin straps, but there isn’t much I can do about it. I took the leotard pattern and made a lining for the back, as well as the front, so that I could sew the movable upper straps into the bodice cleanly. Instead of making a lot of flaps and sewing them down to the bodice, I’m going to suggest the outlines with more of the fabric glitter and glue.

Created with Nokia Smart Cam

I need to sew on the last gemstones on the back and front, and then glue glue glue!

Cyd dress, Day 3

Cyd dress, Day 3

I’ve snapped a couple needles today attaching the sequin trim. I think I’m going to put the trim on every other piece of the skirt, to save more time and materials (and needles… I jump EVERY.SINGLE.TIME… I have nightmares of needles in the eyes!!!). My goal tomorrow is to complete every piece of skirt and the torso pieces as well, because I have realized I can’t really put the main body of the dress together until I get all those flaps done. At the moment that is 16 pieces I believe. At least I have everything cut out at this point!

I also have glitter EVERYWHERE. EVERYWHERE I tell you. AHHHHH!!! WHAT WAS I THINKING! Oh, but look how sparkly it is! And no beading required! I will just have to sweep and vacuum like crazy when this is all done. I’m using a fabric glue from Joann’s, with Tulip green glitter over it. After two hours of drying, there is minimal glitter shedding.

But there is still SOME… I will probably be finding glitter everywhere for a while. In my ears… my hair…

No one should poop glitter. Sigh.

By the way, if anyone is wondering what the heck this is from, watch this video:

Cyd Factory!

Cyd Factory!
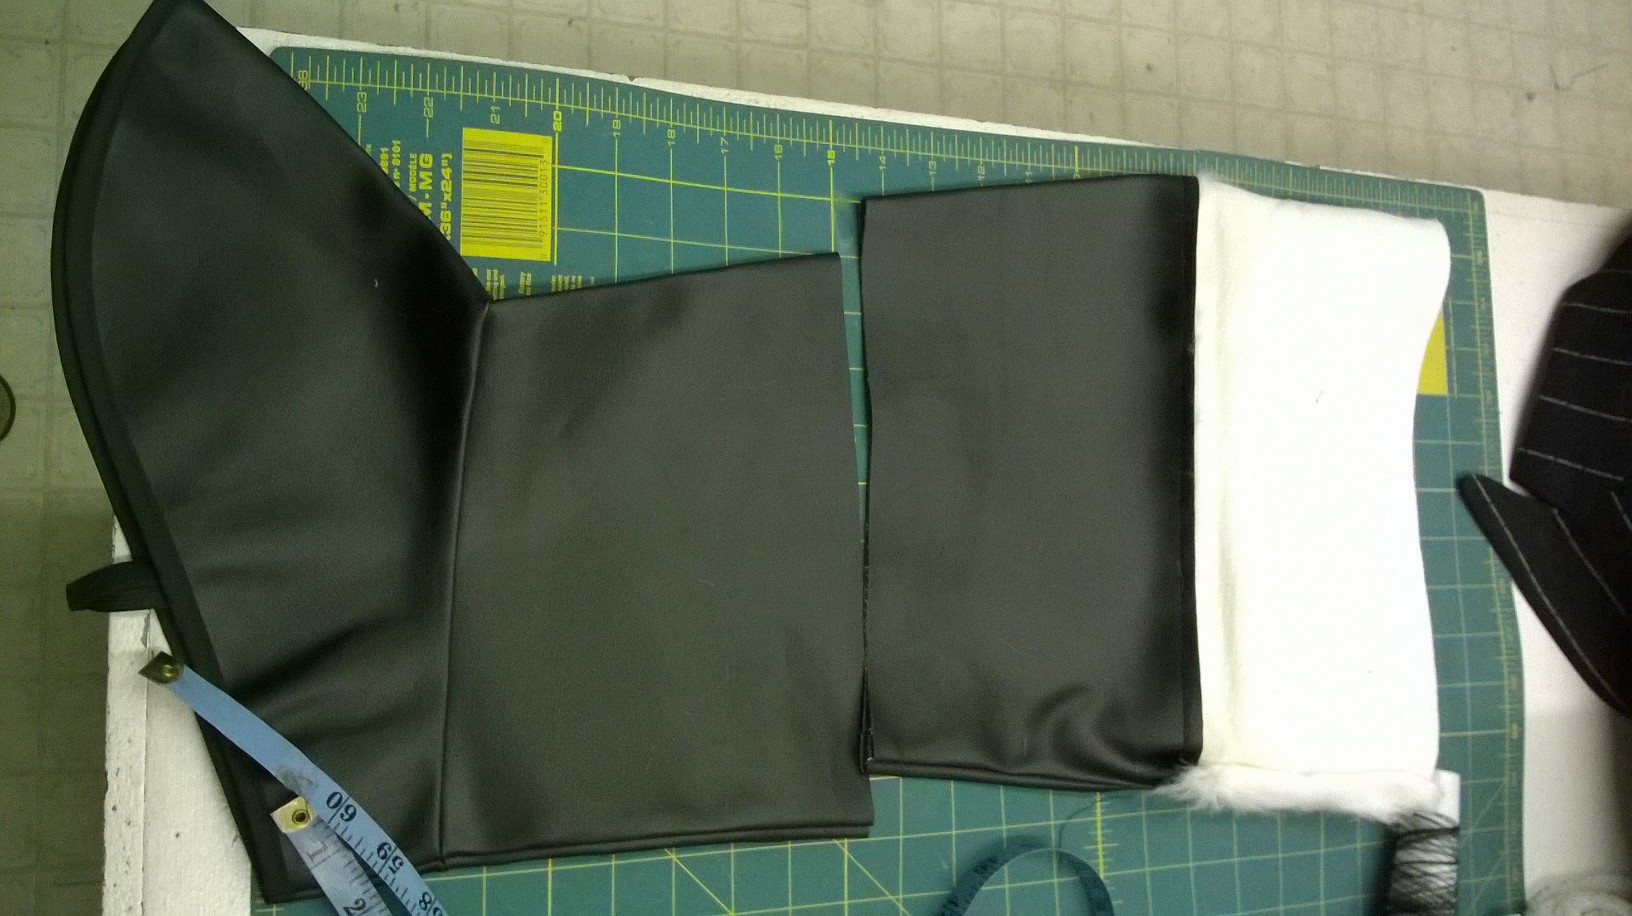
As you can see, I’m plugging away at the Cyd costume! I have all the pieces done for the plain “modesty” underskirt. I have 14mm square gemstones that I’ve started sewing onto the “over” panels. I am going to make a stencil for them, and use puff-glue and glitter to make the designs. This is a fast version of the costume after all, I don’t have time to bead 32 panels!!!! Plus as a rental, you want to make a costume as tough as possible.

Created with Nokia Smart Cam

I’m using the green knit fabric and some interfacing to help them maintain shape, I’m going to sew the skirt panels to a belt that I will attach sequin edging to. I can’t wait to see how it looks when its all finished!